When it comes to messaging on social media platforms, almost all messages a user gets can broadly be categorized into three categories. The first category is those messages that you’re excited to get and respond to right away, almost always; these are generally from your friends, parents, and other loved ones. The second category is the messages that you often tend to ignore in the inbox; these are from people you knew in school/college, unimportant co-workers, banks and retail stores, and so on.

The third category is reserved for people you might not necessarily like but are obliged to respond to. It could contain a wide variety of people; your cousins, relatives, bosses, teachers, or local guardians.
Instagram understands that the users aren’t equally thrilled about every message and has, thus, provided them a choice to keep the messages they want to ignore out of sight by restricting the users who send them.
In this blog, we’ll talk more about the restrict feature of the platform and its relation with the DMs.
How to View Messages from Restricted Profiles on Instagram
If you’ve ever used the restrict feature on Instagram, we’re sure you’d be familiar with all the changes brought forth by it. But let’s refresh your memory a bit by reminding you that after restricting someone, any message they send you will land directly in your Message requests tab.
So, it goes without saying that to view one of these messages; you’ll need to find your way to this tab. If you need a little help with that, here’s a step-by-step guide that will solve your problem. Take a look!
Step 1: Navigate Instagram’s mobile app’s icon on your smartphone menu grid; when you find it, give it a tap to launch the app.
Step 2: To begin with, you’ll first land on the home tab, where the recent updates of all the people you follow will be available for you to scroll through.
When you take a look at the top-right corner of the screen, what do you see? Can you spot a message bubble icon floating there? Give it a tap, and you’ll find yourself in the DMs section.

Alternatively, you could also just swipe left on your screen to end up here.
Step 3: Here’s what you’ll first see in your DMs section:
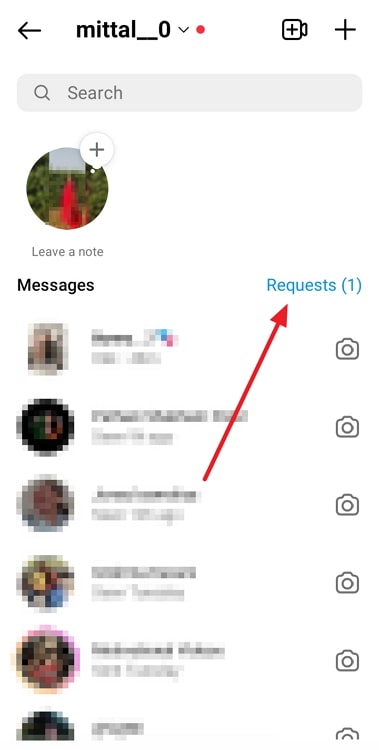
A search bar on the top, followed by the Notes section, after which all your conversations will be listed under Messages.
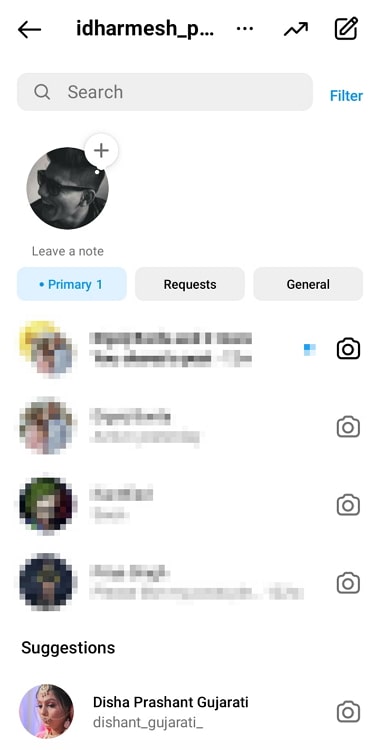
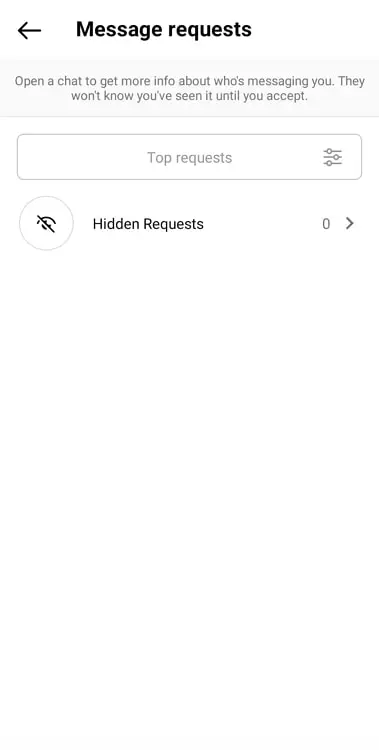
If you look towards the right of Messages, you’ll find a small-lettered option: Requests; give it a tap! You’ll reach the Message Requests tab. If one of the users you’ve restricted has indeed tried sending you a DM, it should be listed here.
Will they be able to see that you’ve opened their message?
Here comes the most interesting part of restricting someone on Instagram: any DM they might send you while being restricted will not land in your DMs section but are collected on your Message requests tab instead, as we mentioned above.
But here’s a rule about message requests that some of you might not be familiar with: the seen stamp on these will only appear on one condition.
Open any message request, and what do you see at the bottom? Three options, two red – Block and Delete – and one black – Accept.
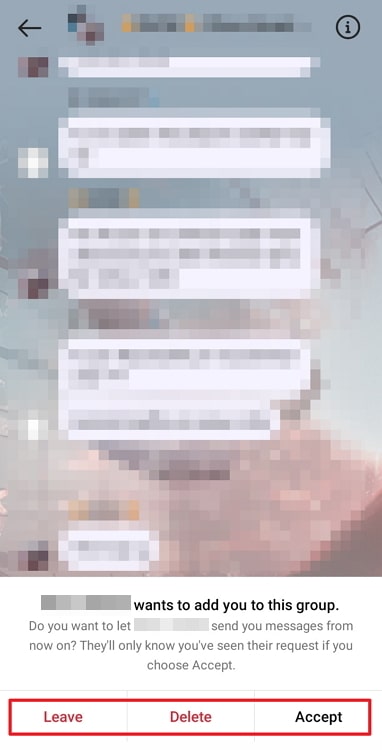
It is only after you have selected the third, black option that the sender would be able to know that you’ve watched it. If you choose the other two options, they’ll never see a seen mark under that message.
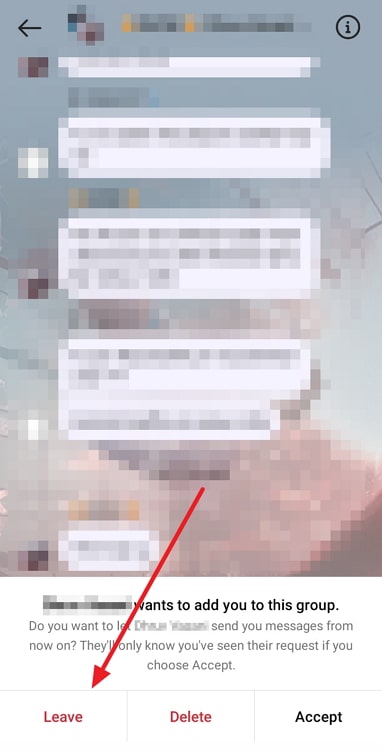
Having trouble opening your Message Requests section? Here’s how you can un-restrict them on Instagram:
We just learned about the advantage of being able to see someone’s message without actually letting them know that you saw it. However, this feature, which appears to be a boon, can also make your life difficult sometimes.
Suppose you restrict someone to hide your active status from them, but they still continue to send you DMs all the time. And it is because you two are co-workers that you’re obliged to reply to their messages, even though late.
In this scenario, when the messages continue to flow in, you’ll need to open the Message requests tab time and again, and accept every message before replying to it. And while that sounds good once or twice a day, if you’re going to do that more often, it’s honestly a huge waste of time.
Is all that unnecessary work making you reconsider your decision to restrict this user? Well, luckily for you, restricting someone is a completely reversible action on the platform. And it’s more convenient because the next party would never know about it at all!
In case such an instance makes your change your mind, you can always follow the steps we’ve mentioned below to get the job done:
Step 1: Launch the Instagram app.
Here, from the home tab you first land on, navigate a magnifying glass icon in a horizontal column of icons arranged at the bottom. When you find the icon, give it a tap.
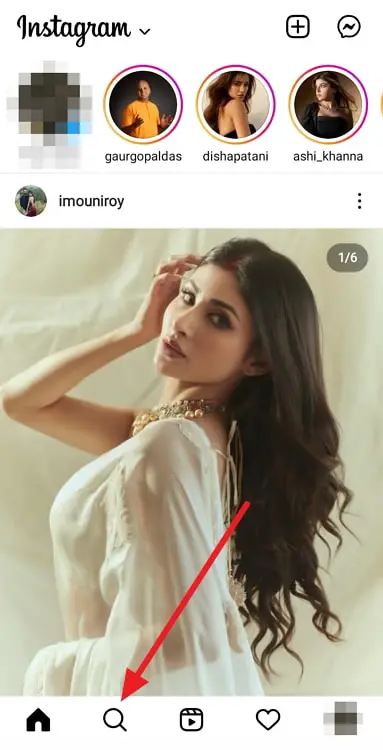
Step 2: Next, you’ll land on the Explore tab with reels and posts close to your interests and likes appearing on the screen.
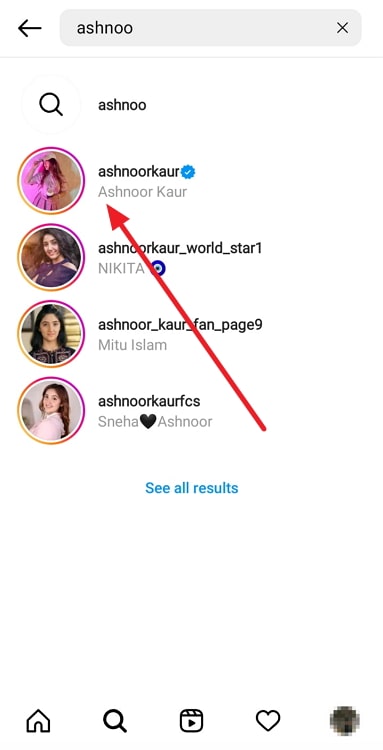
On the top, there’s a search bar located; tap on this bar to start typing inside. Enter the username of the person you’ve restricted, and hit search.
You’ll find their name on top of the search results page. Tap on it to go to their full profile.
Step 3: When on their profile, look for an ellipsis icon towards the top-right corner, right next to the bell icon.
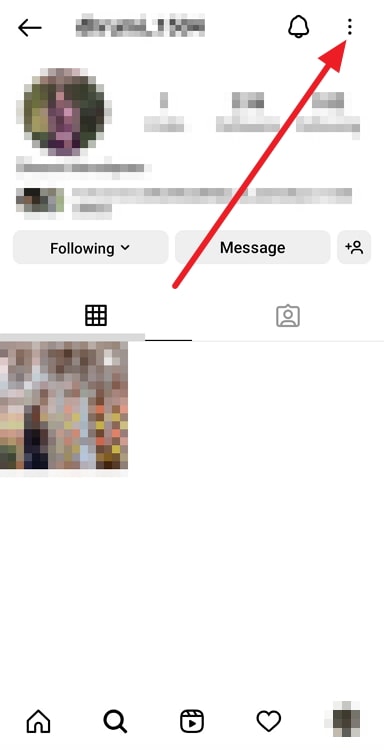
Tap on this icon when you find it. As soon as you do, a floating menu will appear on your screen, with a long list of actionable options arranged on it.
The first option on it would be of Unrestrict. Select this option, and you’ll get a disappearing notification of Account unrestricted on your screen shortly afterward.
The bottom line
With this, we’ve come to the end of today’s blog. Our journey today involved learning the consequences of restricting someone on the DMs they send you afterward. Later, we also delved into the visibility of seen messages and message requests and how the two differ.
Instagram has been adding something new to the platform every so often that it gets difficult to keep track. If such an issue is bothering you, feel free to share it with us, and we’ll try our best to fix it!
Also Read:





 Bitcoin
  Ethereum
  Tether
  XRP
XRP  USDC
USDC  Solana
  Dogecoin
  Cardano
  TRON
TRON